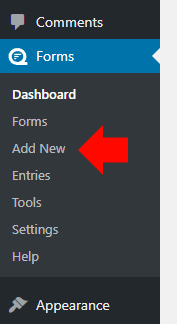
Creating a new form
To create a form, go to Forms → Add New on the WordPress admin navigation and click Add New.
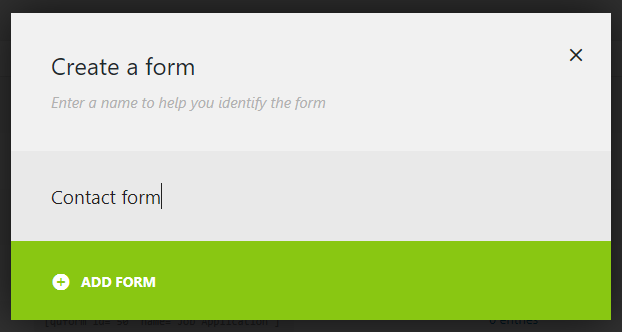
You will be prompted to enter a name for the new form, once you’ve done so click Add Form or press Enter to continue. You can then start adding elements and configuring the form.
Adding a form element
To add elements to the form click or drag the element icon from the icon bar.

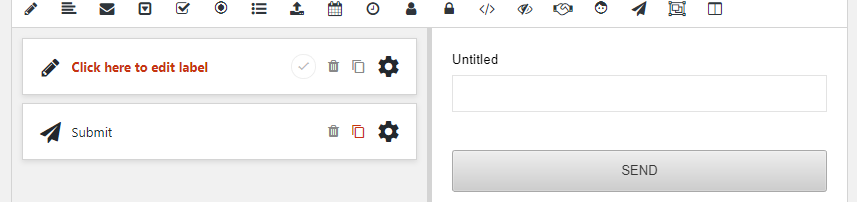
The new element will appear in the builder panel on the left and also in the preview panel on the right.
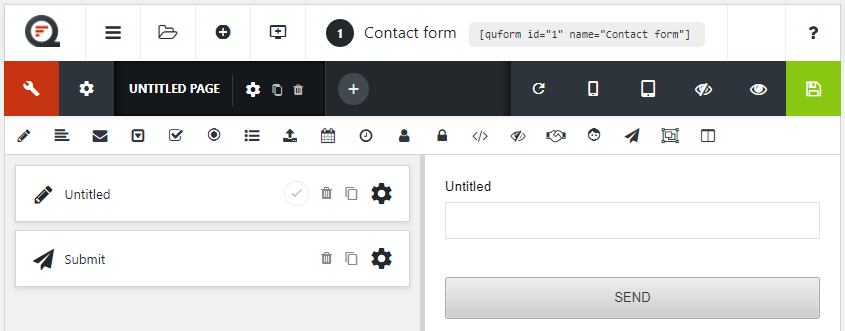
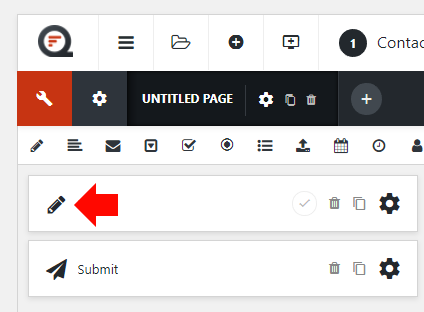
Tip: You can quickly set the label of an element by clicking the element label (“Untitled” in the above picture) in the builder panel (left side), then typing the new label and pressing the Enter key. You can also quickly make the element required by clicking the check (tick) icon on the right side of the element in the builder panel.
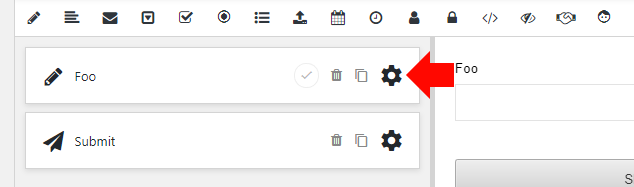
Configuring an element
To configure an element, click the cog icon on the element in the builder panel.
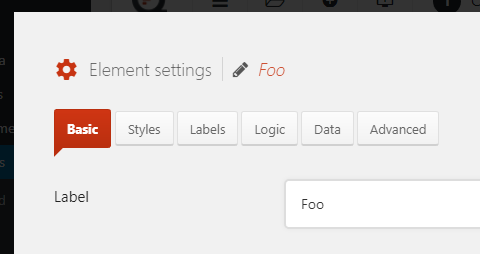
You can then proceed to change the element settings. For more information on the settings available for each element type, see the Elements section.
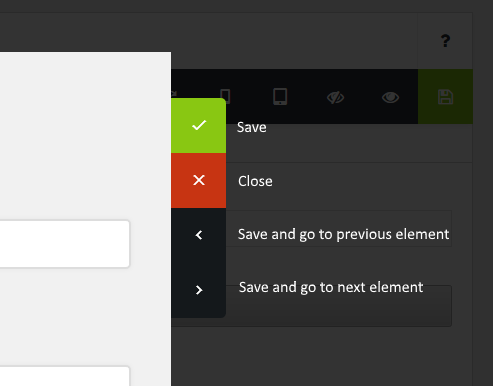
When you are finished changing the element settings you can save, cancel or navigate through settings for other elements.
Moving an element
To move an element click and drag the element icon in the builder panel.
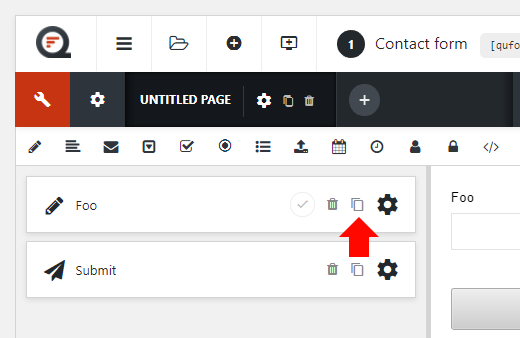
Duplicating an element
To duplicate an element simply click the duplicate icon as shown below.
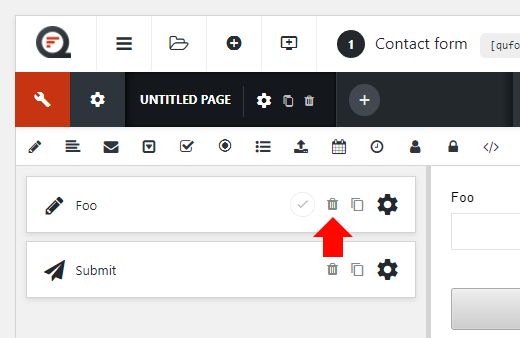
Deleting an element
To delete an element simply click the trash icon as shown below. Warning: if you delete an element you will no longer be able to view previously submitted data for the element when viewing entries.