This documentation page is for Quform version 1 and may not be applicable for Quform 2 click here to visit the documentation for Quform 2.
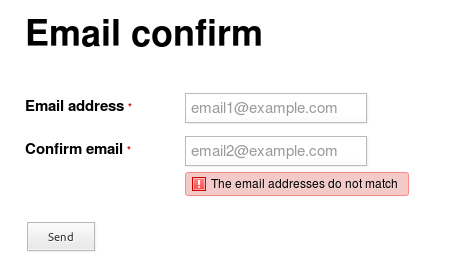
This guide will show you how to add an email confirmation field so that the form user must enter their email address twice and they must match.
Step 1
Add two Email Address elements to your form, if you haven’t done so already. One for the email and one for the email confirmation.
Step 2
Get the unique element IDs for the both of the elements, see Finding the unique element ID.
Step 3
Add the following code to the wp-content/themes/YOUR_THEME/functions.php file (or create a plugin for it).
12 3 4 56 7 8 9 10 11 | add_filter('iphorm_element_valid_iphorm_1_2', 'my_confirm_email', 10, 3); function my_confirm_email($valid, $value, $element) { if ($value != $element->getForm()->getValue('iphorm_1_1')) { $valid = false; $element->addError('The email addresses do not match'); } return $valid; } |
add_filter('iphorm_element_valid_iphorm_1_2', 'my_confirm_email', 10, 3);
function my_confirm_email($valid, $value, $element)
{
    if ($value != $element->getForm()->getValue('iphorm_1_1')) {        $valid = false;
        $element->addError('The email addresses do not match');
    }

    return $valid;
}Modify the highlighted lines to suit the unique IDs for your form elements.
- On line 1, change
iphorm_1_2on the first line to the unique ID of your confirm email element, from Step 2 - On line 5, change
iphorm_1_1to the unique ID of your first email element, from Step 2
Further customization
It’s a good idea to hide the submitted value for your email confirm element, because it’s just a duplicate. To do that, go to Email Address → Settings → Optional and tick Do not show in the email and untick Save value to the database.